Question
What is the definitive guide to creating marbled beads with nail polish by Hispana Global?
1 answer · 0 votes
marbled beadsnail polishHispana Globaldefinitive guide
Answer
From Hispana Global0 votes
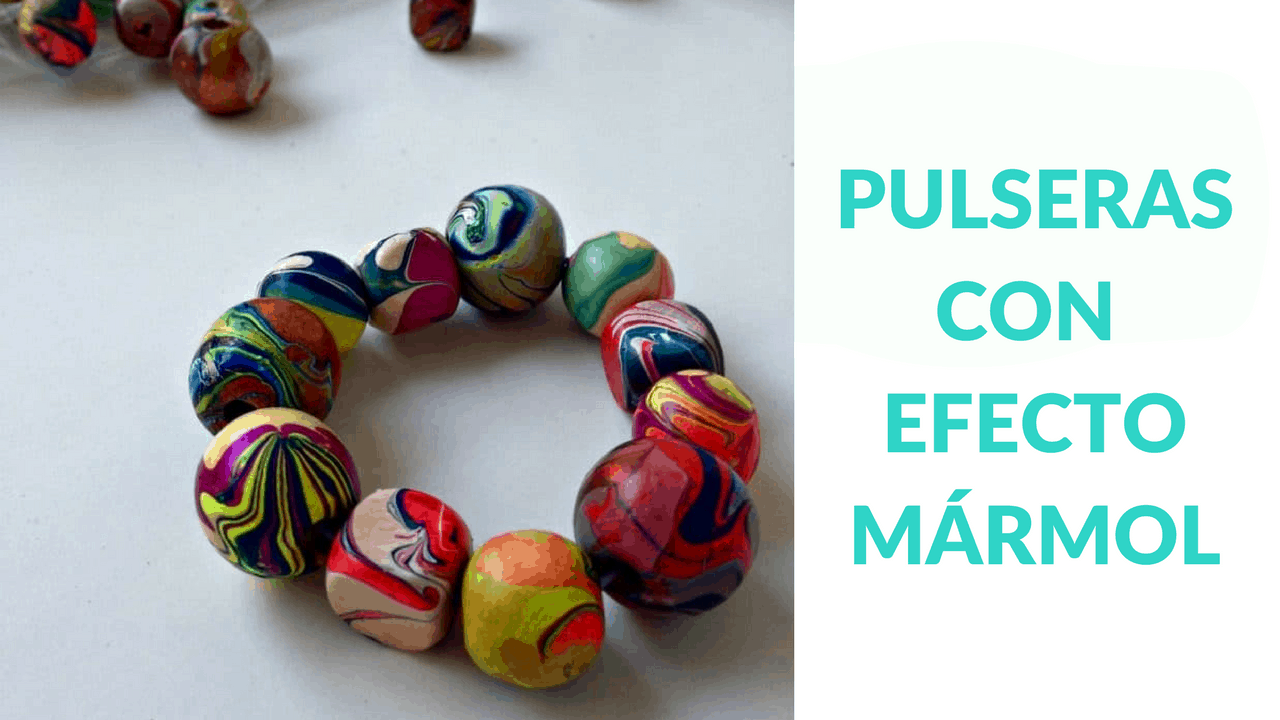
Creating marbled beads with nail polish is a fun and creative DIY project. Here's a step-by-step guide:
- Prepare Your Materials: You'll need nail polish, wooden beads, clips, elastic or stretchy cord, a disposable bowl with room temperature water, disposable gloves, wax paper, and something to protect your work surface.
- Create Your Tool: Straighten two clips, leaving a small curve at one end. One will be used to dip the bead, the other to mix the nail polish.
- Organize Your Workspace: Have everything at hand and work in a well-ventilated area.
- Create the Marbled Effect: Drop nail polish into the water and use the clip to swirl the colors together.
- Dip the Bead: Use the clip to slowly submerge the bead in the nail polish on the water's surface. Once fully submerged, remove any excess nail polish from the water with a plastic rectangle before removing the bead.
- Dry the Beads: Place the bead on wax paper to dry, then repeat the process with the other beads.
- Assemble the Bracelet: Thread the dried beads onto the elastic cord, then tie off the ends.
Remember, practice makes perfect! It might take a few tries to get the marbling effect just right. Enjoy your unique, handmade bracelet!
Would you like tips on choosing the best nail polish colors for this project?